
How Do You Bake Ice Hockey Skates?
Have some new Bauers or CCMs? Your new skates could hurt and irritate your skin if they don’t fit properly. Luckily, this is why we bake skates so that the materials in your skates soften and mold to the form of your foot. With customized skates, you may avoid the drawn-out breaking-in process.
Baking, also known as heat molding, reduces the amount of time needed for a break-in and provides a highly customized fit for your foot. The heat from the oven causes the materials inside the skate to become softer. Therefore, when they are put on while they are warm with the lace tightened, it then molds to a completely custom fit.
How To Bake Your Ice Hockey Skates At Home
Many skaters have this technique carried out by an expert at their neighborhood store. Even so, you can certainly do it at home. You may bake your ice hockey skates in a typical home oven by following the instructions in this article.
STEP 1:
Everything must be ready before baking the skates. Set up a chair nearby and a mat on the ground. Put on the skate-specific hockey socks you usually wear. A baking sheet and oven mitt should be nearby.
Untie the laces just enough to get your foot into the shoe and get a clock ready nearby. Running about the house is the last thing you want to do while the skates are prepared for molding. You should focus entirely on this technique.
STEP 2:
Next, put your skates into the oven. It will take around 15 minutes to warm it to 175°F (79°C), depending on your oven. When the temperature is exactly right, the materials will soften without endangering the skate. An oven thermometer is advised since ovens frequently do not display the correct temperatures.
To determine its firmness before baking, you should pinch the boot before placing it in the oven. You may use this to determine if the boots are prepared for the following phase or not.
STEP 3:
Any direct heat source increases the chances of the skates being destroyed. Hence, when the oven has finished heating, turn it off and leave the heating components for 30 seconds to cool. When ready, place one skate in the center of the rack on a baking sheet.
Even if you can put both skates in the oven, don’t speed up the process. While working on one at a time may take longer, this is a delicate process that must be performed with care. Close the door after ensuring that the skate remains in the baking tray.
Recall that certain skates come with special baking instructions for that specific pair. To minimize confusion, read it ahead of time. Note that if you aren’t careful, you might irreparably damage your skates. To avoid potential injury, have them prepared by an expert if possible.
If you insist on baking your own skates, keep in mind that your oven will most likely be hot, as will your skates. Take all necessary precautions when working with heat to avoid burning yourself.
How Long Does It Take To Bake Ice Hockey Skates?
The skates should be in the oven for 3–5 minutes. After two minutes:
- Keep an eye on them. The quarter panels are ready if they feel substantially softer and more flexible.
- If not, leave them on for another minute or two.
- Avoid overbaking them.
Using an oven mitt, remove the tray from the oven when the stipulated time has passed. Bring the tray over to your chair. You shouldn’t touch the steel or metal eyelets, even if the skate should be heated. In order to properly insert your foot into the skate, make sure your heel is facing backward.
Never pull on the laces in any direction—up, down, or otherwise. The eyelets might loosen because of how soft the footwear is. Pull the laces out of the eyelets of your shoes right away. When you’re ready to skate, tie them like you normally would.
Sit with your knees at a 90-degree angle for ten to fifteen minutes. To help the skates cool and conform evenly to your foot, try to avoid standing or moving about. The skate’s laces should then be carefully loosened and taken off. The materials will once again harden as the skate begins to cool.
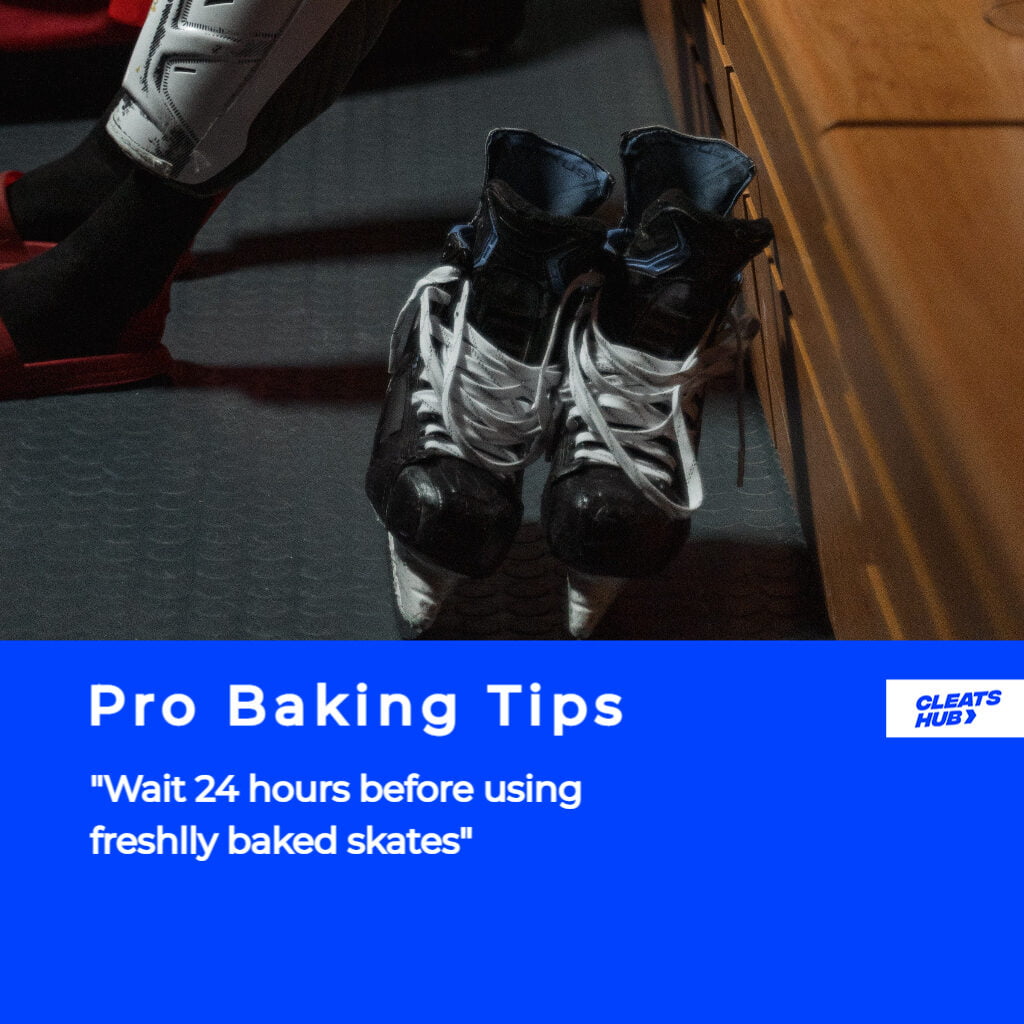
Use newly baked skates after 24 hours have passed. But if you need to use them right away, you may speed up the process by freezing them for an hour. But at the very least, you should wait 12 hours before using them.
How Often Should You Bake Your Ice Hockey Skates?
Baking your hockey skates can help them quickly break in. What happens, though, if you’ve already cooked them and your skate begins to squeak? Instead, what if you bought a worn-out pair of baked skates? Can you bake your hockey skates more than once?
Yes! You may repeat this multiple times. Skates may often be roasted 1–3 times with no issues. More than three baking sessions might cause your skates’ early degeneration.
Your skates could spoil rapidly if you bake them. Hence, if you insist on doing it yourself as opposed to hiring a professional, be sure you are doing it correctly.
Advantages of Baking Your Skates at Home
- Spend less by avoiding paying the pro shop.
- Your skates break in more quickly than usual
- It gives you the best fit possible
- Lessen the discomfort associated with purchasing new skates
Disadvantages of Baking Your Skates at Home
- Cheap skates made of inferior materials will degrade more quickly than skates made of superior materials.
- Your boots will wear out faster the more you bake.
- After baking, the skates may only be used for 24 hours.
- If you don’t do it correctly, you might damage your skates.
Final Tips
Skates can be ruined by baking them at home if you don’t do it correctly. However, baking your skates at home is a great way to get a customized fit and hasten the break-in period.
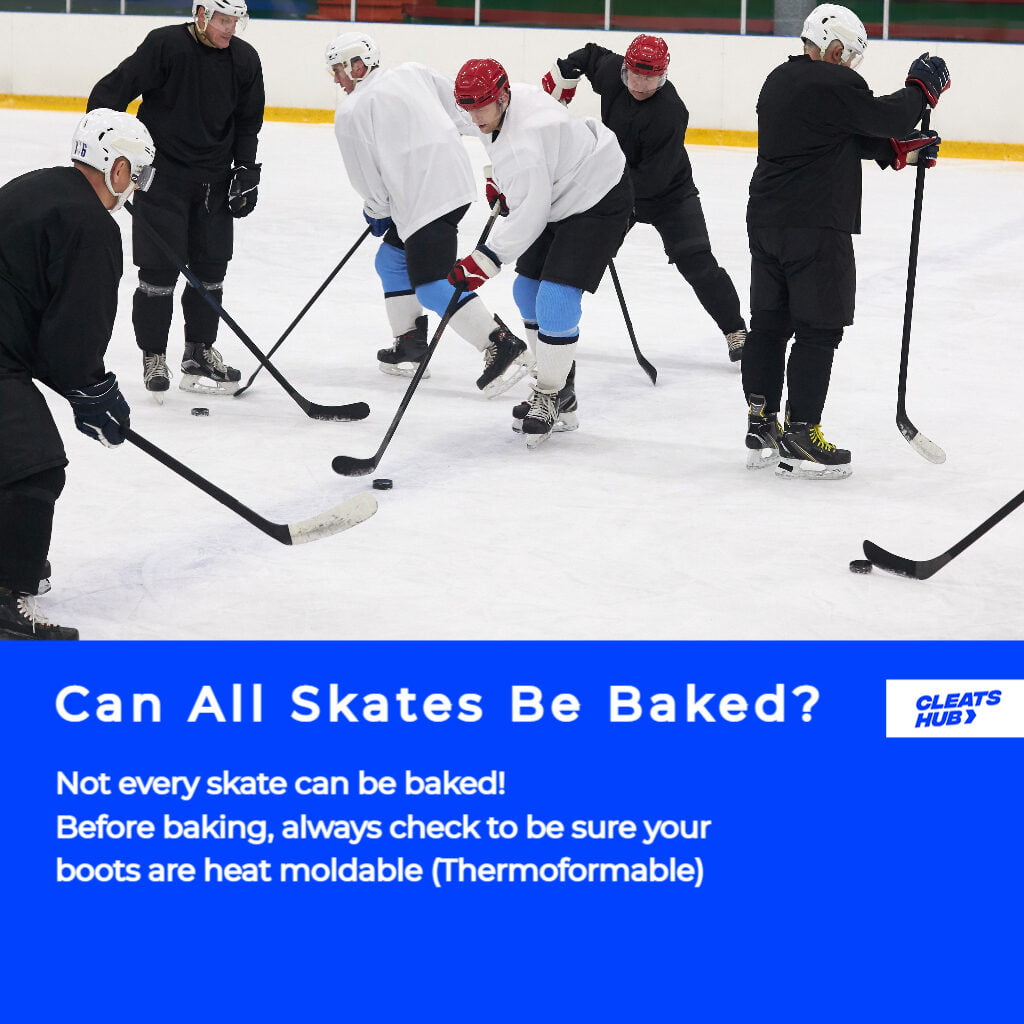
Before baking, confirm with the manufacturer or by visiting a reliable review site like wordpress-756467-2676371.cloudwaysapps.com if your skates are heat-moldable. Hockey skates for recreational or entry-level play often aren’t heat molded. When carried out incorrectly, they might shorten the lifespan of the skate. Moreover, make sure you give the procedure your full attention.
Psstt…. The Top Performing Cleats