
The ice hockey stick is one of the most important components in the game of ice hockey. The main piece of equipment for the sport is a stick, which can be made of wood or plastic. Ice hockey players all have different tape jobs on their sticks, each with a design that works best for them.
This does not imply that it is only done for amusement or stick decorating, though. It affects players' playing styles as well.
This raises the question, "Why do professional players tape their sticks?" We'll discover the solution as we examine the causes and strategies for taping a hockey stick.
Reasons For Taping An Ice Hockey Stick?
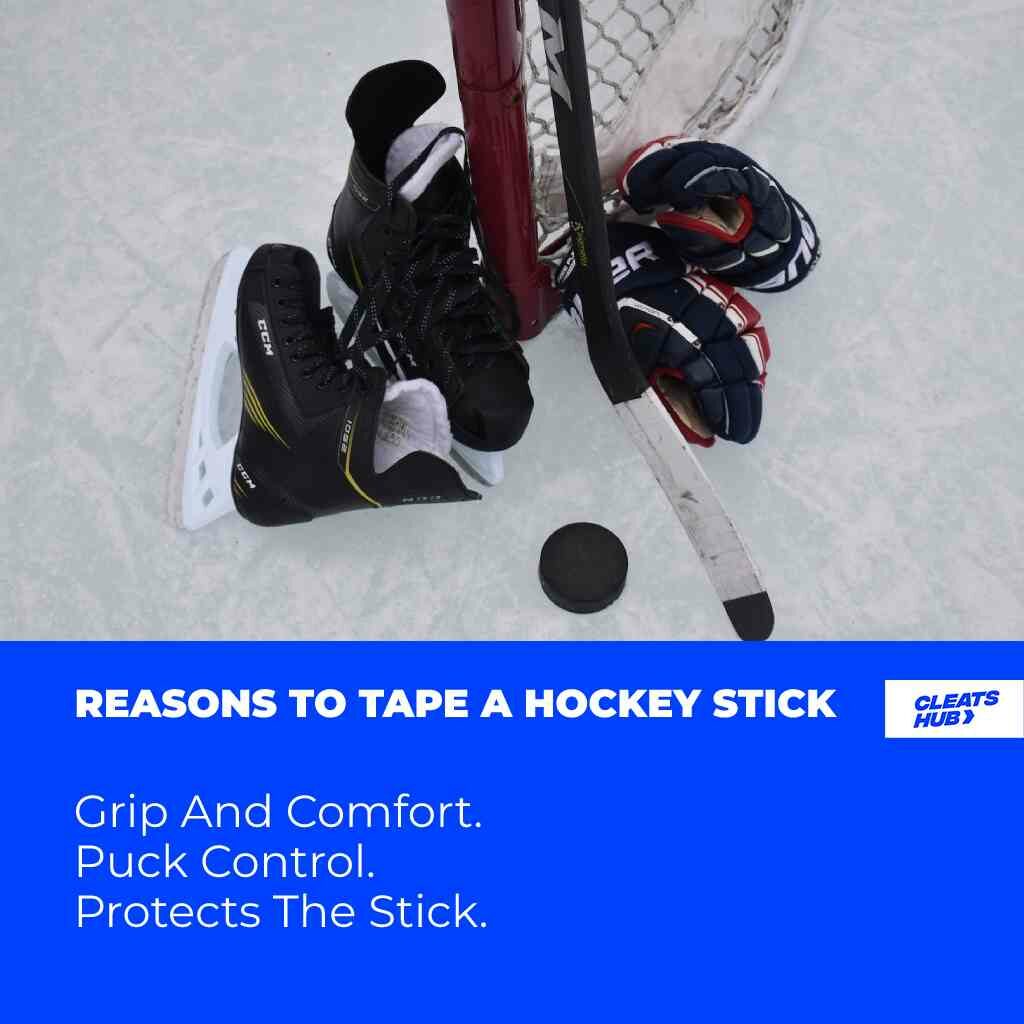
There are four main benefits players enjoy from taping their hockey sticks.
1. Increased Grip And Comfort
Because they are made of carbon fiber, carbon, and aramid, composite hockey sticks are particularly slippery when there is a trace of moisture. Because of its slippery nature, a pass or shot requires more grip pressure and power to handle and deliver shots. The last thing a player wants when playing ice hockey is for his stick to slide off his gloves.
In addition, players make a knob at the top of the shaft using tapes (grip tape and plane tape) to improve grip. Similar to this, the tape is wrapped around the shaft to enable a tighter and more comfortable grip when decking or stickhandling during the faceoffs and games.
2. Reduced Damage To Ice Hockey Stick
During ice hockey matches, the two main hockey sticks (wooden and composite) are impacted during ice hockey games. Up until the 1990s, the majority of sticks were made of wood. Thereafter, composite sticks took over the market.
Wooden sticks were taped in the past because they tended to warp (deforming bend) more readily when exposed to moisture from the ice. Also, the impact of the puck on the wooden version left splinters that made controlling the puck difficult. Moreover, the sticks occasionally broke.
After some time trying out more economic options, newer versions of warp-resistant sticks appeared (composite sticks). The likelihood of the sticks breaking is higher than with hardwood sticks. However, this did not mean it was completely resistant as composite sticks would break relatively easily if they had a dent, crack, fracture, or knick.
A crack in a composite stick is difficult to spot. Moreover, hockey sticks can occasionally develop cracks as a result of the hard impacts they sustain when blocking shots, making shots, slashing, and even during faceoffs.
In order to remedy this, players continued the custom of taping their ice hockey sticks to prevent damage between games.
3. Efficient Puck Control
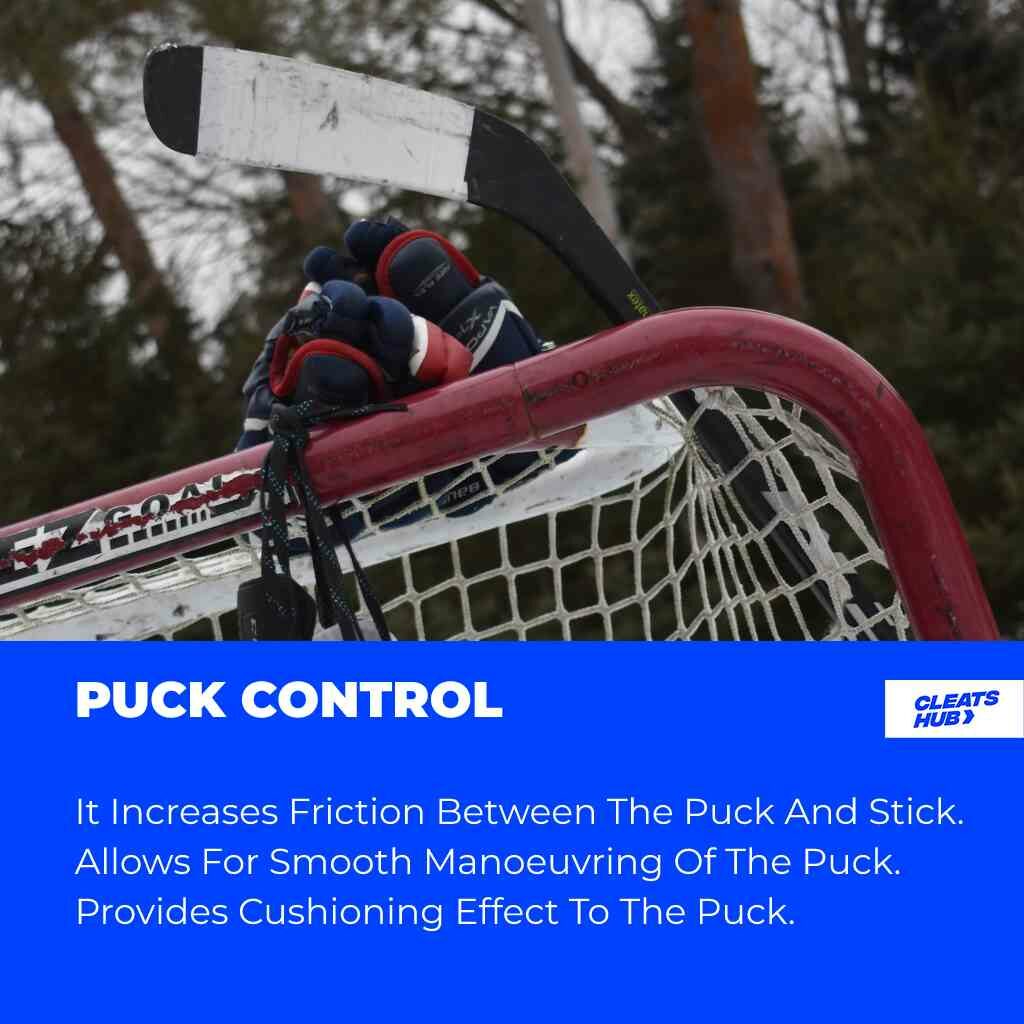
The tape job on an ice hockey stick allows for effortless command over the puck and smooth maneuvering of the puck in any direction. It does this because it increases the friction between the puck and the stick.
Naturally, composite sticks are slippery making it hard to control the direction and movement of the puck on ice. This is because the puck has a greater chance of sliding over the blade.
However, when a tape job is done to the blade of a stick, the tape provides extra friction between the puck and the stick. To further improve the friction wax is rubbed on the taped stick.
Moreso, tapes provide a slight cushioning effect for the puck during a pass, preventing the puck from bouncing off after contact with the stick.
4. Quicker Stick Pick Up
Due to their relatively flat surface, ice hockey sticks might be difficult to pick up when they fall (when wearing gloves) during a competitive match. On a stick, though, a tape job is much easier to pick up at the knob during a frantic game.
The stick is slightly lifted off the ice by the taping at the knob, making it easier to pick up. When your stick collapses when you are on offense or defense, this might just be essential.
How Do Players Tape Their Ice Hockey Stick?

The tape job of an ice hockey stick has numerous methods. It depends on your personal preference and what you think works for you. Taping of an ice hockey stick is common on three major parts of the stick.
- Handle
- Shaft
- Blade
When picking a suitable tape it is advisable to use cloth tape or other tape with a grippy surface. Use of paper tape, electrical tape, sock tape, and other tapes with a non-grippy surface will only end up removing during gameplay or affecting your grip strength.
Taping The Handle
Another part of an ice hockey stick where taping is done is on the stick's handle. The knob on the stick is a protrusion that prevents the hand from moving higher while providing a secure grasp on the top of the stick.
It's not difficult to tape the handle. Here is a quick guide:
- An ice hockey tape is first needed, which will be wound around the handle's top to make a bulge.
- Rip the hockey tape's opening, then divide the stripe in half from the center using a pair of scissors to make the bulge (if you want a wider bulge there is no need to cut the tape in two).
- When taping, close one of the two stripes to prevent you from using the other half of the tape continually
- After cutting the tape in half, wind the top of the handle repeatedly, overlapping the tape until it is the right thickness.
- A proper knob thickness is often achieved by going around the top of the stick 10 to 15 times.
It's crucial to maintain accuracy while taping by taking your time and doing it well.
Taping The Shaft
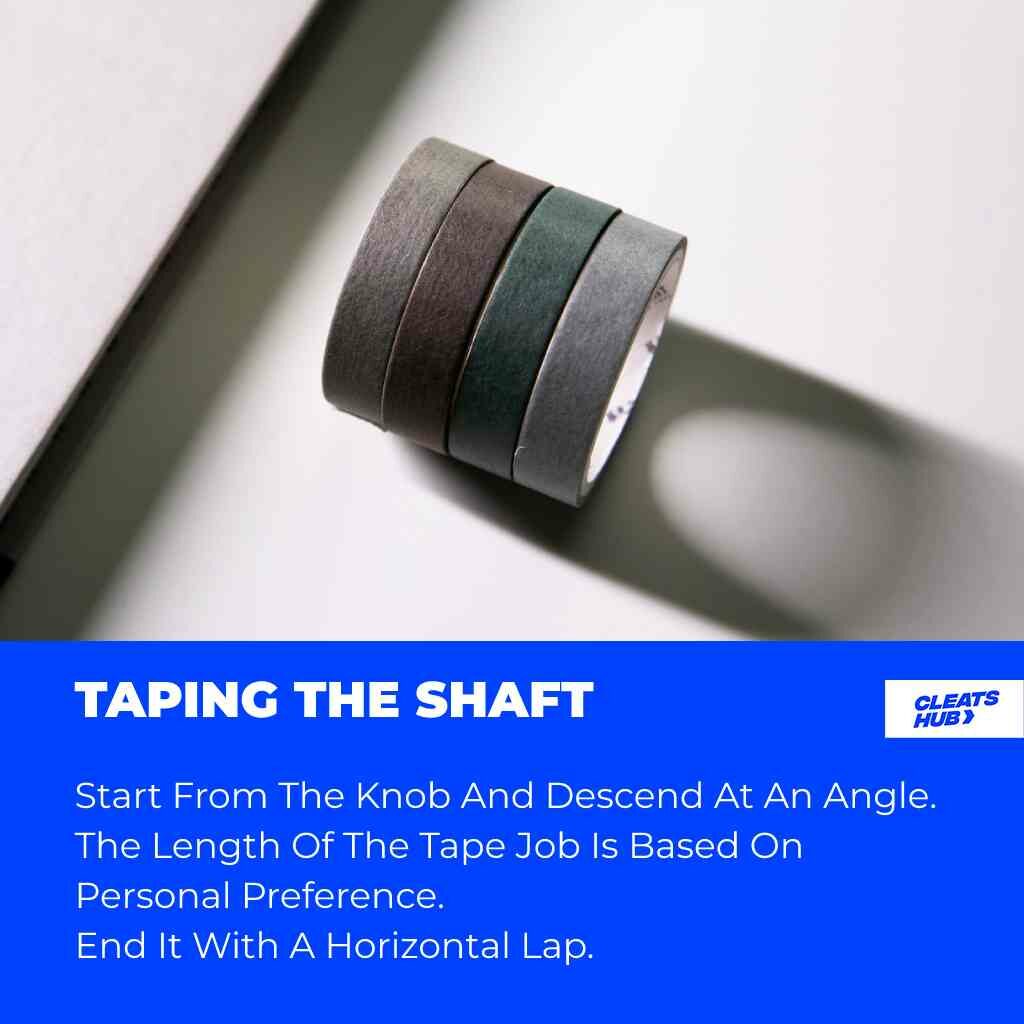
The shaft should be taped after you are finished with the handle. The tape job done on the handle is simply carried over to the shaft.
We won't be using half of the tape's width, in contrast to the handle. Go around the knob you created once with a hockey tape, and then start sloping down the shaft. To avoid uneven overlapping as you down the shaft, make sure the angle is reasonably constant.
Also, you can choose how long you want your tape job to be. The majority of players prefer it long, but some players prefer it short and a few players prefer it in the middle.
When it reaches the length you want, finish it off with a horizontal lap around the shaft. The horizontally overlapping at the conclusion prevents the tape form coming off.
Taping The Blade
A stick can be taped in two different ways, speaking of the blade. Either starting from heel-to-toe or from toe-to-heel, either is acceptable for a good tape job. Whatever method you select will yield the same value, you can be sure of that.
Nevertheless, due to its superior finish and durability, starting from the heel to the toe is the most popular and preferred technique.
Choose a spot on the heel where you want to begin, preferably where the blade just starts to curve and work your way all the way to the end of the blade. Once you've chosen a location, grab a piece of hockey tape and wind it constantly and angularly around the blade.
It is crucial to check that the tapes line up parallel to one another, the thickness is continuous across the blade, and the creases disappear.
You can cut off the extra tape with a pair of scissors if the area surrounding the blade isn't completely smooth. Waxing the blade increases its ability to repel water. This tutorial can teach you more about taping a blade.
Players Who Broke Their Ice Hockey Stick In The NHL
NHL sticks break during games very often. In some instances, players have lost opportunities to bag a goal or even save a goal because of a broken stick.
Some of the players who have broken their sticks during a game are:
- Andrew Peeke
- Kevin Fiala
- Sidney Crosby (Check out the Achievements, Career and Stats of Sidney Crosby)
- Alex Pietrangelo (broke 2 sticks in a game)
- Conner Mcdavid
- Ian White
- Nikita Kucherov
Conclusion
The way and manner of a tape job vary a lot. Some people like a full tape job, some prefer taping half of the blade, others like white tape, and a few are comfortable with black.
No matter the specifications you are comfortable with, a good tape job has the same advantage. Giving you a relaxed mind without wondering when your stick will shatter.
Related reading
- Mark Messier Leadership Award - NHL Exemplary Leadership Award
- King Clancy Memorial Trophy - NHL Award For Humanitarian Contribution
- Jim Gregory General Manager Of The Year Award
- James Norris Memorial Trophy - NHL Best Defensemen Award
- The Stanley Cup - About The NHL Award To Winners Of The Playoff Season