
Ice hockey drills are important because they allow players to be able to train themselves for in-game events and even develop skills they lack proficiency in executing. In this article, we will be discussing ice hockey drills for beginners and also for all ages. These potent drills help develop your skill and prepare for real game situations.
Drills To Develop Basic Ice Hockey Skills
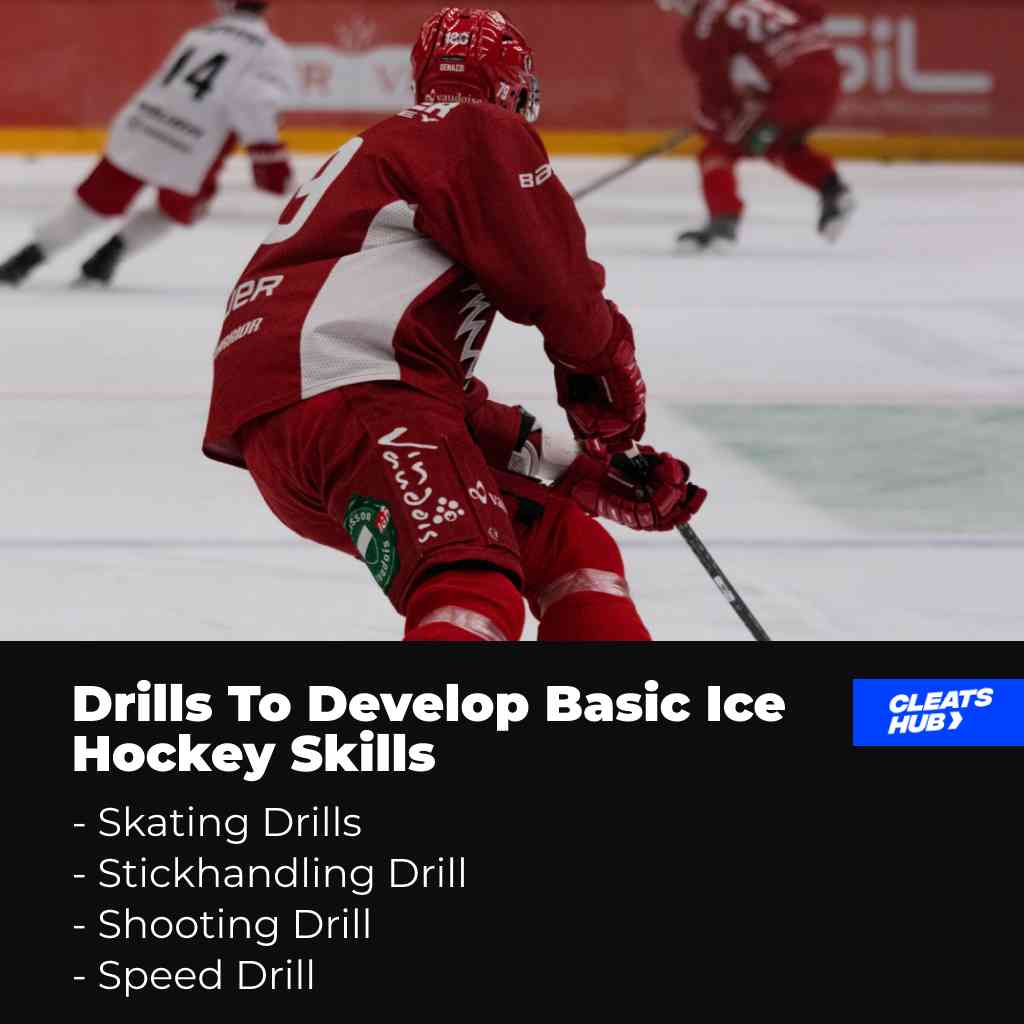
To start, we’ll look at the ice hockey drills for beginners to help improve the basic skillsets that are vital for every player on the rink. After that, we’ll move on to the other drills that can also prove beneficial to your efficiency on the ice.
For an added advantage, after perfecting these drills, try doing them with a puck so you get the feel of how it will be in a real game.
1. Skating Drills
When skating, it is important for a player to have the right amount of balance and control. Here are some ice hockey drills for beginners, that can improve your skating in ice hockey.
The Egg Drill
The egg is an ice hockey drill that involves a hockey player moving his legs outward (spreading the legs) and inward (bringing them back together) while skating. This motion should create an egg-like shape on the ice.
This technique helps to stretch the muscles of your lower body and also increases balance with widespread legs.
Instructions
- Move to one end of the ice, and position yourself in front of an ice hockey net.
- Start skating normally until you build up momentum, and slowly spread your legs wide apart. Do not look down but straight up.
- Once they are far apart, bring them closer together. Repeat the process until you get to the other side of the ice and then back to your original position. The shape formed on the ice is what is referred to as "The Egg". To make it more difficult, try spreading your legs wider.
- Also, once you get the hang of it, try moving faster and making the eggs in quicker succession.
- After practising that a couple of times, you can add this extra detail by crossing your legs forward and backwards after each Egg.
- This means you cross your right leg in front of your left leg after making an Egg and then your left leg at the back of your right leg after another (or vice versa).
Slalom Drill
Another ice hockey drill for your skating is Slalom. It trains your ability to swerve and curve with your skates.
Instructions
- Start with a little momentum at one end of the ice.
- Swivel your hips and hands and make your skates move in the same direction making small curves.
- Swivel your hands as you make the curve helps to give you the momentum to keep moving. Continue making the little curves until you get to the other side of the rink, and then make a 180° turn and continue.
- If you are getting it right, you should be able to make cleaner and sharper turns with practice.
One Legged Gliding
One-legged gliding is a very efficient drill, especially when you talk about building stamina for skating on a leg. This drill is easy and can be modified with the Slalom drill. Here's how.
Instructions
- Start from one end of the ice and build up momentum before carrying one leg off the ice and letting one leg carry you.
- When starting, try to ensure you skate in a straight line, as bending your skates to move in other directions might want to occur.
- Once you get to the other end of the ice, build momentum and lift the other leg.
- After trying that out a couple of times, try performing soft curves. You can achieve this by bending your skates slightly to the left and then right in continuous motion. You can also swing your arms gently from left to right to give you extra momentum.
For a better understanding of the movement, here is a little video guide on skating drills for beginners.
2. Stickhandling Drill
Stickhandling is another vital part of the game. The ability of any player to maintain possession of the puck, drill and move with the puck across the ice is essential. Here are some easy ice hockey drills to assist you in maintaining control over the puck while playing.
Horizontal & Vertical Figure 8
Horizontal and vertical Figure 8 helps you to move your puck in circles in and around an object or opponent. To start, you’ll need two pucks that will be placed either horizontally or vertically.
Instructions
- First, we start with a horizontal figure-8. Start off by placing two pucks in front of you horizontally but ensure there is enough space between them. Hopefully, the puck should be placed a bit far from you as most of the stick movement happens a little away from your body.
- Now take a puck in front of you and move it from in and around the two pucks in front of you. The stick will aid you by giving little taps and guides to the puck as it moves around and in between the puck. You can make it interesting by decreasing or increasing the space between the puck
- For vertical figure-8, place two pucks on a vertical line at your left-hand side. And just like you did in the horizontal figure 8, bring the puck around the upper puck, in-between and around the lower puck. Repeat this process over and over before switching to the right-hand side.
- It is important to note that you look forward and not downward when performing this drill. Initially, you can look down to have a feel of what you are doing, but you should practice doing it while looking forward.
Square Puck Swap
The square puck swap is a little more advanced than the first drill but carries the same movement but with more precision. So here’s how you execute the square puck swap.
Instructions
- For the square puck swap, basically, you need just four pucks which will be used to create a square. The distance between each puck that makes the square should be a little more than the size of your feet.
- Stay at a good distance away from the square (let it be a point where you can still access the two pucks at the top of the square, but you’ll have to reach a little to get it)
- To begin, start from the top left puck. Use your puck to move it from its position downward (below the puck under it) and move it around the remaining three pucks before returning it to its position.
- Then after that, move to the puck at the top right side. Move it downward, around the remaining pucks and place it back in its position.
- Repeat with the top left puck and repeat all over again. At first, start off slowly and continue till you get it.
Gaudeur Puck Weave
The Gaudeur puck weaves build speed, precision and fast stick movement.
Instructions
- Place six pucks in a straight line. The distance between each puck should not be more than the size of your feet.
- Stand at one end of the ice with another puck and take the puck between each of the pucks on the straight line moving slightly forward as you do so.
- When you get to the last puck, move your puck about it and begin moving it backwards, in between each puck. So basically, you move in one direction, get to the end, don’t stop moving and move backwards with the puck.
- This helps you learn how to make fast zig-zag motions with the puck and learn to play it in tight spaces.
Kucherov Pull Across
The Kucherov puck across is a simple combination that can be a good skill-handling weapon for dribbling. Here’s how it is done.
Instruction
- Start with some quick dribbles with the puck in front of you.
- Drag the puck to your side before pulling it with your backhand to your right side and repeat the process.
Here is a recommended video resource on ice hockey stickhandling drills for beginners.
3. Shooting Drill
There are different methods of scoring in ice hockey. Also, if you play forward, it is very important players get the necessary drills to enhance their scoring chances.
Backhand To Forehand Shooting and vice versa
This teaches you how to move the puck from one side of your hand to the other fast so as to disorientate the goalie. So instead of taking a shot at the side the puck is, you can make a quick change before shooting. Here’s how it is done.
Instruction
- Start with the puck on the same side as your forehand and make some quick dribbles
- Cross it over to your forehand and make a shot at the hole at the right side of the net. After this, repeat the process and shoot the puck into the right-hand side of the net. This helps to give direction to your shot
- When you have perfected the backhand-to-forehand shooting drill, you can then start the forehand-to-backhand drill. It is the same as the previous drill, just in the opposite direction.
- Start with the puck on your forehand and make some quick dribbles, then pass it over to your backhand before shooting it into the right, then left side of the net.
Drag N Shoot
It is a simple process, easy to execute and improves your ability to drag the puck from a distant position and shoot spontaneously.
Instructions
- Place a short obstacle on the ice a few distances to your side and place the puck a few centimetres away from the obstruction.
- Slightly tilted to the goal net, make a little dribble with the puck before dragging it across the obstacle and shooting it into the goal net.
- Remember to plan your shooting into specific positions on the net (top right, top left, centre, bottom right and bottom left)
Around The World (Backhand)
This enhances your proficiency with backhand shots.
Instructions
- Start by positioning yourself so that your backhand is facing the net.
- Make a little back-and-forth movement with the puck before using the back of your stick to shoot it into the net. Try it for the top left and right positions on the net until you get perfect.
Straight/Diagonal One-Timers
This mimics the situation of a pass to you from teammates and polishes your one-time shots. You'll need a board that the puck can bounce off on for this drill. If you have a partner with you, it's an added advantage.
Instructions
- For a straight-at-you one-timer, place a board in front of the net.
- Get a starting position and move with the puck toward the net before playing the puck towards the board in front of the net. This will cause it to bounce back to you, and then you will perform a one-timer. Again, aim for specific angles on the net.
- Once you have perfected this, you can begin the diagonal one-timer. Move the board to the side of the net and tilt it at an angle.
- Using the same method, skate towards the next and play the puck to the board, which will send it back to you in a diagonal to the net.
- Perform a one-timer with the puck and repeat the process.
One Touch Pass Shooting Drill
This is a move advanced drill that requires about three players. It involves continuous one-touch passing before shooting.
Instructions
- Place two players at the lower end of the faceoff circles close it the net.
- You'll begin by skating around the first faceoff circle at the right and passing the puck back and forth between you and the player at the end. Stake anticlockwise at the right faceoffs circles so that at the end, you will be close to the goal.
- Once close to the goal, perform a one-timer with the last pass and skate towards to left faceoff circle immediately.
- The player at the left faceoff circle will give you continuous passes as you skate in a clockwise direction until you are close to the goalie again, where you will have to perform another one-timer.
- Repeat the process again at the right faceoff circle. To make it more difficult, add a goalie to the net to mimicks the experience of a real game. Here is a video resource for this specific shooting drill.
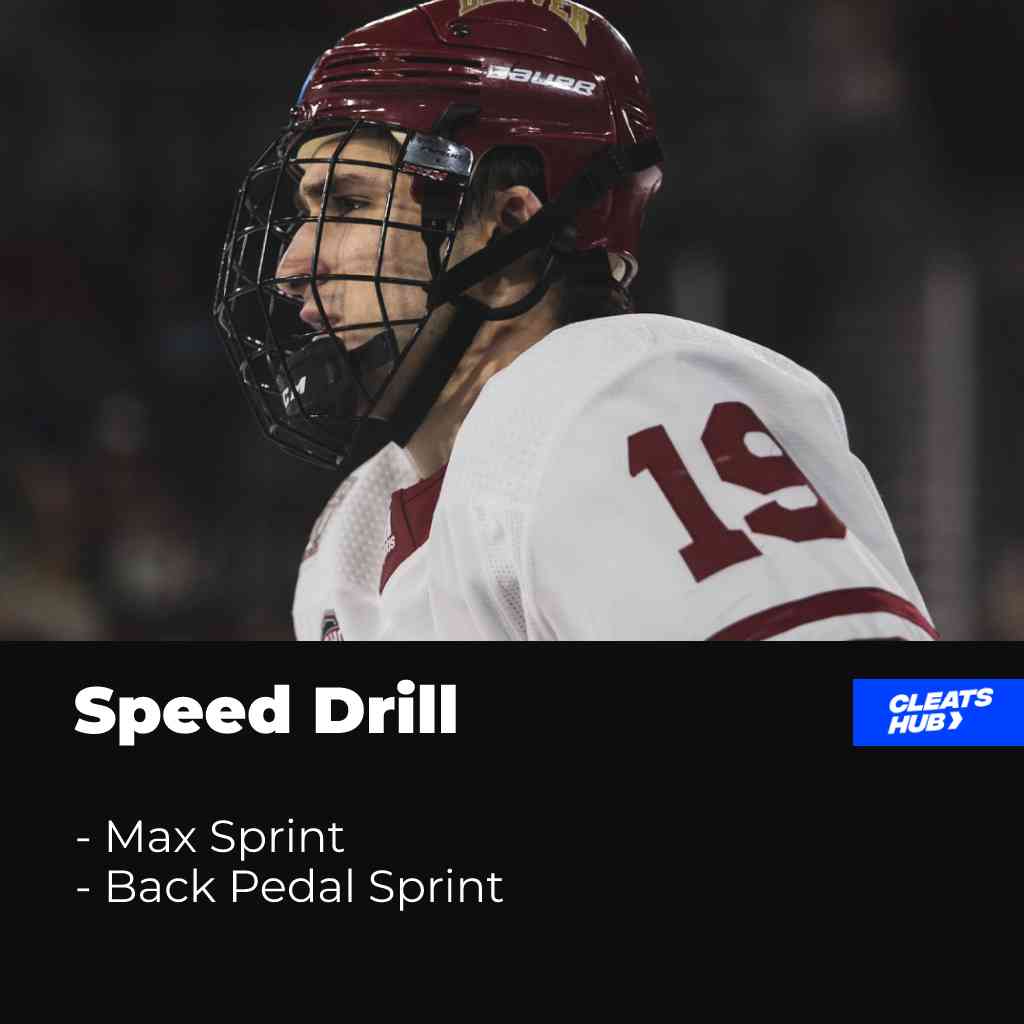
4. Speed Drill
Speed drills are the final drills for today. Explosiveness when it comes to skating is important, especially when chasing a dumped puck or performing a breakout play with the puck. Speed also allows you to move past your opponent easily, giving you more 1v1 chances with the goalie.
Here are some ice hockey drills to improve your speed.
Max Sprint
As the name suggests, you are going to the sprinting at your maximum speed. To start, you'll need to lay on your chest at one end of the ice and spontaneously stand up on your skates and sprint as fast as you can to the other end.
It helps to improve your speed, how long you can sprint and how fast you can get up when on the ice. After making one sprint, you can rest for about 10 seconds before repeating the process.
Back Pedal Sprint
This sprinting drill helps to work on your back and forward skating, and this is how it is done.
First, you will move to the blue line closest to the goal net you have decided to stay on. Then you will begin to skate backwards fast until you reach the goal line, after which you will then begin an explosive sprint all the way to the blue line at the other end of the ice.
You can repeat this process about five to ten times before you finally take a rest. You should be able to skate backwards better now.
Related Post: How Fast Can Ice Hockey Skaters Skate?
Other Additional Ice Hockey Drills For Beginners
I decided to add an extra drill to this list of ice hockey drills for beginners. This drill does not fit into any of the categories mentioned above, therefore the reason for a special category.
Superman Dive
The Superman dive is an ice hockey drill specifically to practice falling on the ice, which is something that is bound to happen when playing ice hockey. The drill basically consists of falling on the ice and getting back up quickly.
You begin by skating with momentum and then diving onto the ice. Then when you begin to slow down, get back up immediately and repeat the process. It’s that easy.
Conclusion
This brings us to the end of this ice hockey drill tutorial. There are some links in the article to instructional videos that can serve as a guide for you.
So whether you are new to ice hockey or have been playing the sport for a while, or are of any age, these ice hockey drills for beginners will undoubtably help you improve your skills. Thanks for reading.
Related reading
- Mark Messier Leadership Award - NHL Exemplary Leadership Award
- King Clancy Memorial Trophy - NHL Award For Humanitarian Contribution
- Jim Gregory General Manager Of The Year Award
- James Norris Memorial Trophy - NHL Best Defensemen Award
- The Stanley Cup - About The NHL Award To Winners Of The Playoff Season