
In ice hockey, scoring goals is equally as crucial as having good stickhandling technique, being a quick skater, or having any other necessary talent. Yet, if you are a forward, your primary strength should be your capacity for scoring goals. This implies that you need proficient ice hockey shooting techniques.
Players have developed innovative strategies to increase the effectiveness of goal scoring over the years. Although there are many ways to score goals, here are a few of the most basic ones that the best NHL players employ to improve their odds of doing so.
The benefits of each shooting style will also be discussed, along with some workouts that will help you hone your skills as you use them.
1. Snapshot
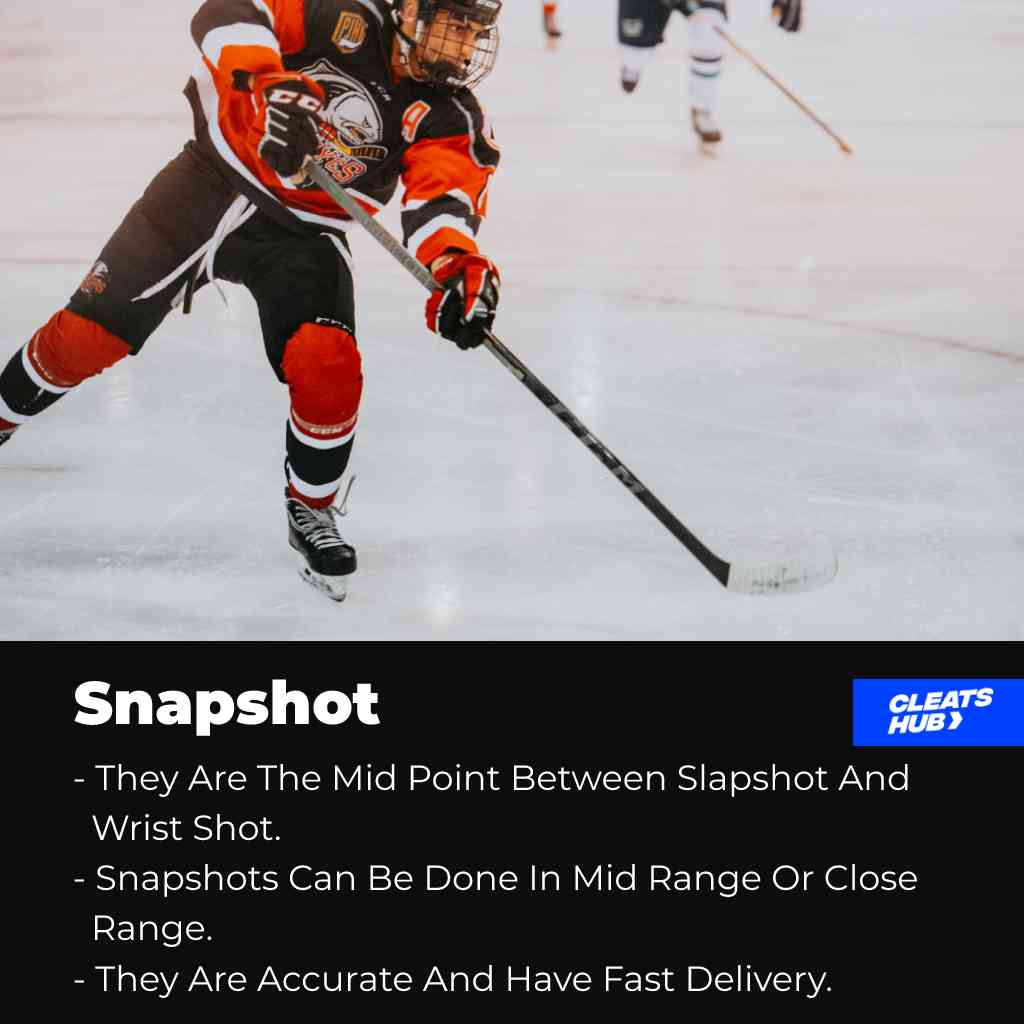
The halfway point between a wrist shot and a slap shot is a snapshot. Snapshots are quick-release, high-intensity shots that strike a balance between wrist shots' quickness and slapshots' strength.
Snapshots are equally balanced as long- or short-range shots. They can also be employed if a player decides against moving for a one-timer following a pass.
Popular players like Alexander Ovechkin, Steven Stamkos, Joe Sakic, Phill Kessel, and others employ them as excellent ice hockey shooting strategies.
Advantages Of Snapshot
- Snapshots are accurate and fast, and they have a quick delivery that makes the shot too rapid for both the goalie and the players to stop.
- Snapshots allow for effective use of the flex ability of hockey sticks to deliver shots with faster release and accuracy
- Of all ice hockey shooting techniques, what makes snapshot one of the most incredible is that players don't need to wind up before executing a shot. Therefore, time is not wasted, and the goalie can't prepare for the shot.
2. One-Timers
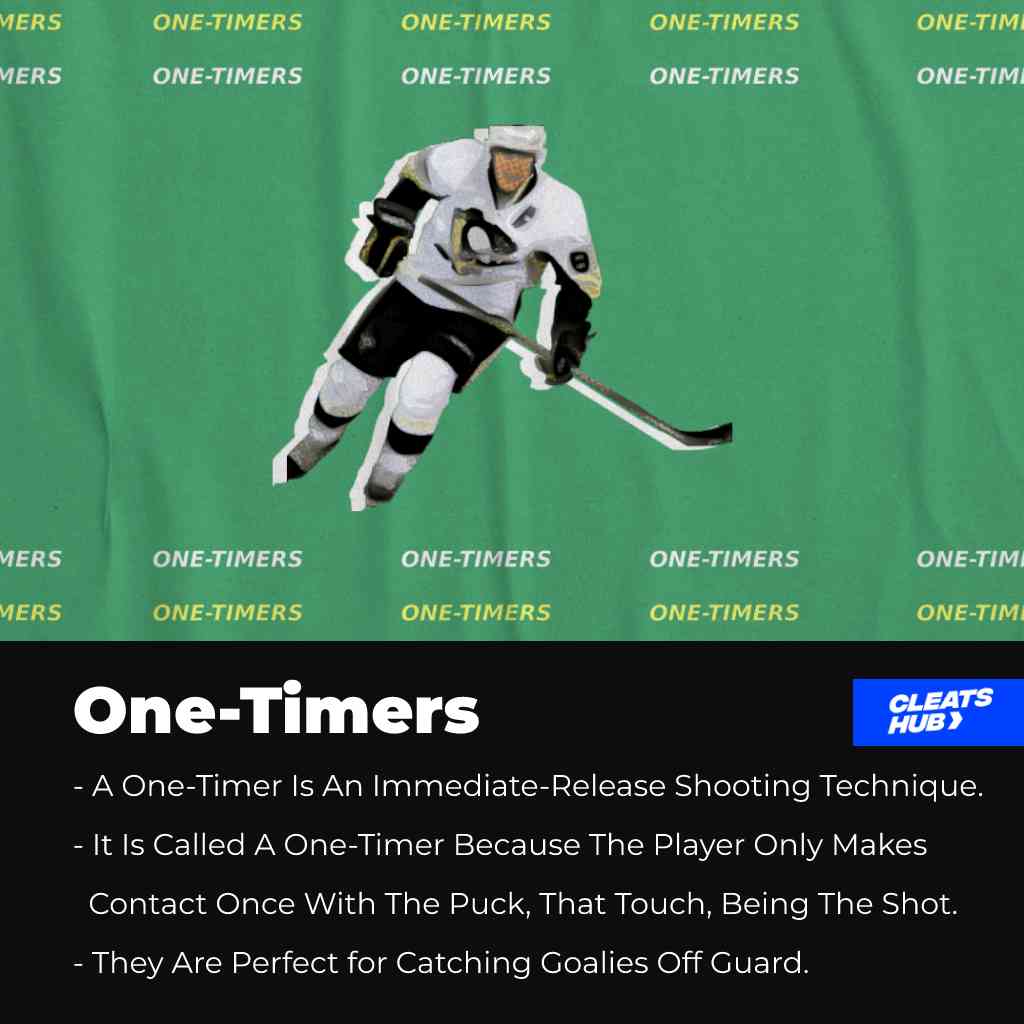
An illustration of an immediate-release shooting technique is the one-timer. Simply put, it is an instant slapshot a player makes without making any attempt to manage the puck after receiving it.
When a player receives a pass or a rebound and fires the puck once without touching it in any manner, the move is known as a one-time shot. A player has only one opportunity and opening to shoot the puck, hence the name "one-timer".
Advantages Of One-Timers
- One-timers are perfect for catching goalies off guard in a surprise attack.
- Also, one-timers are intense, fast, and suitable shots when a player is close to the net.
- In addition, since the shot is immediate, there is no need to wind up before making the shot.
One-Timer Ice Hockey Drills
All you need for this exercise is a stick, an ice hockey skate, a net, and a rebounder. A rebounder is a long, narrow board with a few centimeters of height that is used to bounce the puck.
In this instance, we are using it to mimic receiving a pass, though it can also be used to mimic a rebound or a pass.
Straight-At-You One-Timer
- To begin, place the rebounder in front of the net so that it covers the base.
- Move a few distances from the net and hit the put towards the rebounder in a straight line.
- When the puck bounces off the rebounder toward you, make a one-timer with it. To fine-tune your shot, use hockey shooting trainers on the net so you can target specific areas on the net.
- You can move closer and farther from the net to test your one-timer from different locations. You can also hit the puck harder on the rebounder to develop your one-timer with a strong and fast pass.
- Finally, your goal should be to perform one-timer as quickly as possible with accuracy.
Diagonal One-Timer
- Diagonal one-timers are similar to the variation discussed above. The main difference between the two is that, in this case, the rebounder is kept on the same side as your upper hand. If you are left-handed, your upper hand will be your right hand, and vice versa.
- When placing the rebounder, ensure it is facing you.
- Hit the puck towards the rebounder, and as it approaches, you perform a one-timer as fast as you can. Ensure you target a specific part of the net to increase accuracy.
3. On-Motion Shooting
I advise every ice hockey player to master this one particular shooting technique. Before shooting the puck, the majority of ice hockey players slow down or halt. This signals to the goaltender and defensemen that they intend to pass or shoot, giving them time to set up to intercept the puck.
Players that can execute on-the-go shooting have higher success rates at scoring goals. As they wouldn't anticipate a shot while a player takes big steps, this surprises goalies and defensemen.
Advantage Of On-Motion Shooting
- On-motion shots make it hard for goalies to predict the moment of the shot.
4. Changing Shot Angle
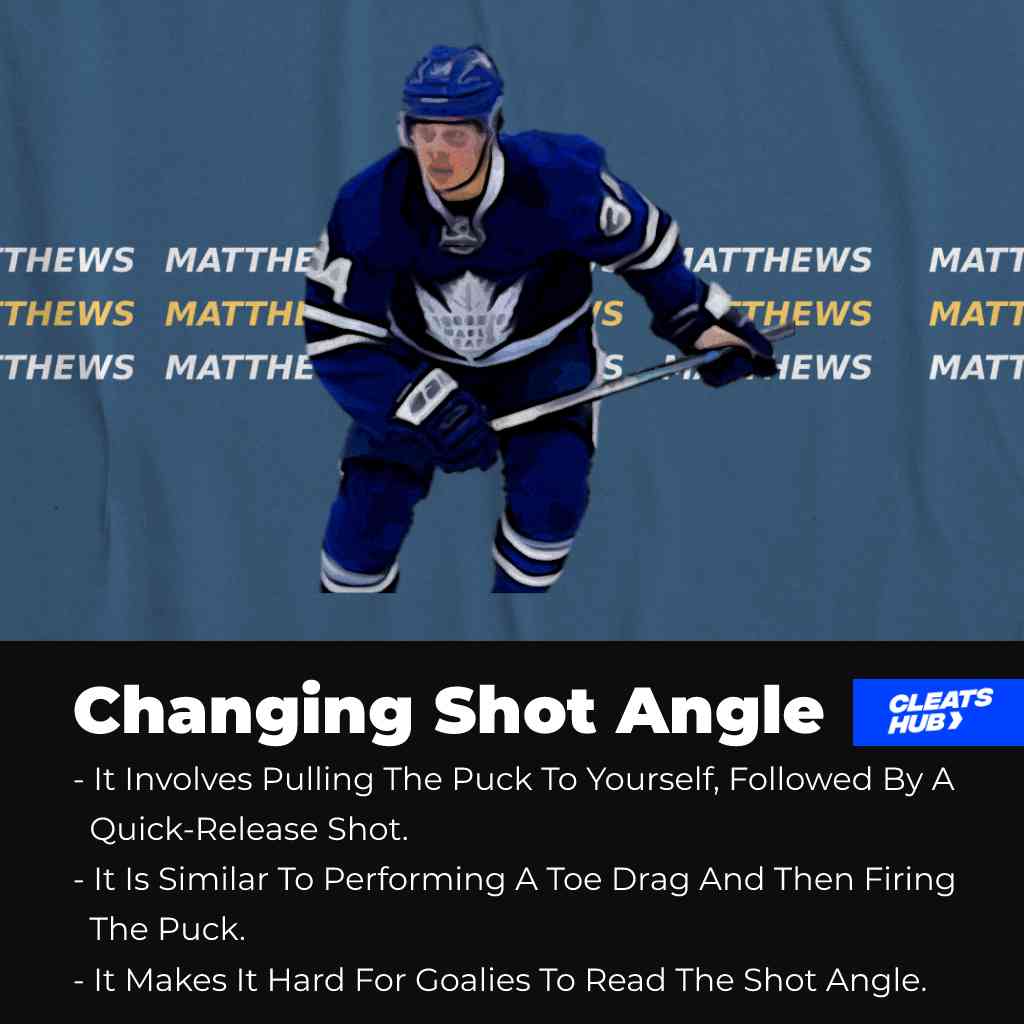
Auston Matthews made the more intricate and effective move of switching shot directions popular in hockey. Bringing the puck closer to oneself before releasing it is required.
It is quite similar to doing a toe drag before slamming the puck into the goal.
The goalie is put off by this play since he has no idea what angle the puck might travel at. The angle of the puck might shift by up to a foot or more thanks to this shooting technique.
Advantages Of Changing Shot Angle
- It is unpredictable
- The change in direction gives players extra flexibility on where to shot
- Even if it is obstructed by the goalie, there is a high chance of a rebound
Changing Shot Angle Drill
- Start by placing a hockey stick or a straight, long object that can serve as an obstruction on the ground. The blade can be laid flat, sloping downward or upward relative to you.
- Next, place a puck in front of the stick so that the stick is covering the puck from the net.
- Now, with your hockey stick, pull the puck as if you want to perform a toe drag, and once it is in front of you, shoot it immediately. The entire process is carried out in one move, spontaneously.
- You can try out the different positions of the stick on the ground mentioned earlier, so you will be able to pull and shoot the puck no matter where it is.
5. Slap Shots
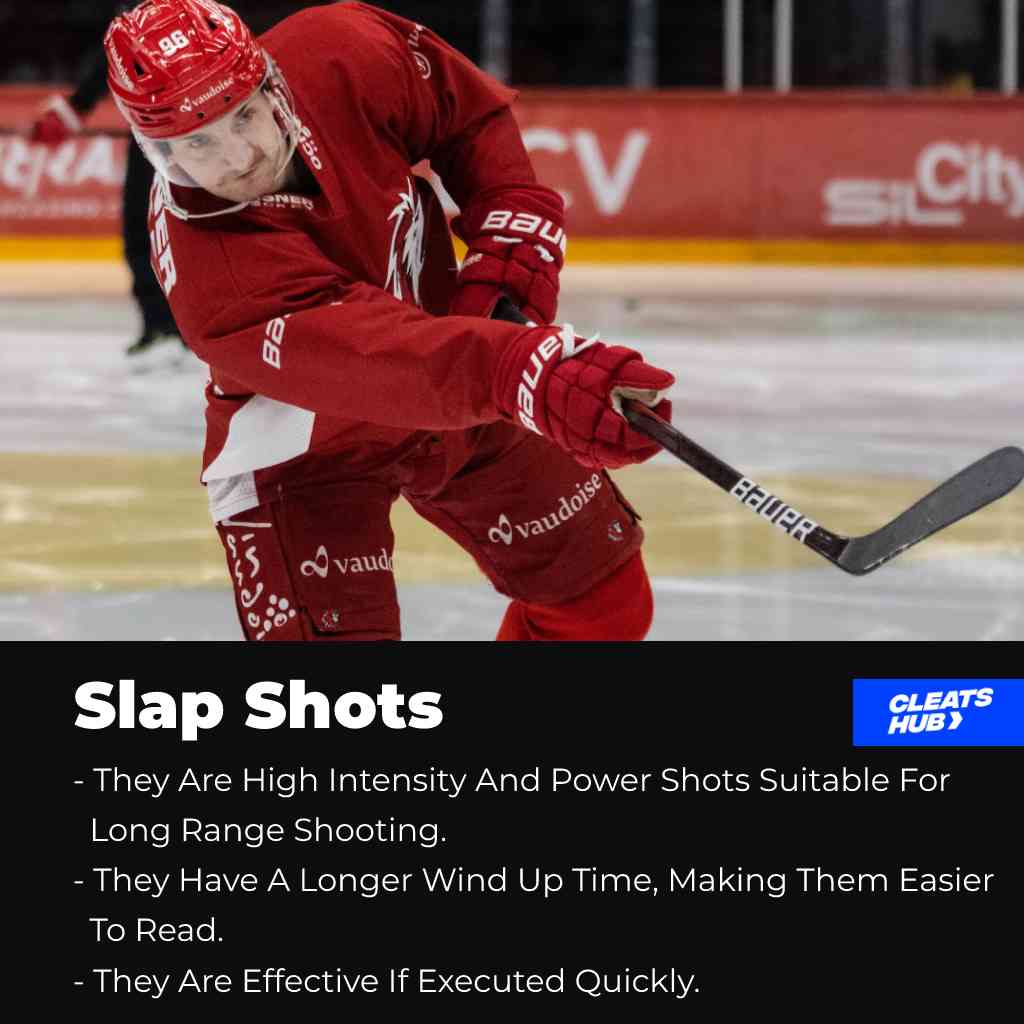
The slapshot is our last option. Slap shots are long-range shooting techniques that have high power and ferocity. They are highly popular in ice hockey, but due to the longer execution time compared to snapshots, they have a lower chance of scoring (wind up).
Slapshots are faster and more powerful than wrist shots, but because they take longer to wind up, goalies and defensemen can anticipate where the puck will go.
Slapshots hold great potential, though, if made fast and with the appropriate amount of force. especially given that it can be used from a vast distance
Advantages Of Slap Shot
- It can be taken from a long-range
- Slapshots are high-power and high-intensity shots
- It sends the puck moving very fast.
Related Post: Top 7 Off-Ice Hockey Exercises: Performance Workout
Differences Between Different Shooting Techniques
| No. | Snapshot | One-Timers | Slap Shot | Changing Shot Angle | On-motion Shots |
| 1 | It's a short-range shot | They can be long or short range | Long-range shots | They can be short or long range | They are more of short-range shorts |
| 2 | Possess quick delivery | Have a fast execution time | Have a longer execution time | It depends on the position it is taken from | They have a normal execution time |
Conclusion
You should be able to score more goals using these five ice hockey shooting strategies with enough practice. Even though all of these strategies are excellent, you should come up with fresh ideas and approaches to fool goalies.
Once you have an idea, put it to the test, refine it, and then adopt it as your own peculiar style. Thanks for reading.
Related reading
- Mark Messier Leadership Award - NHL Exemplary Leadership Award
- King Clancy Memorial Trophy - NHL Award For Humanitarian Contribution
- Jim Gregory General Manager Of The Year Award
- James Norris Memorial Trophy - NHL Best Defensemen Award
- The Stanley Cup - About The NHL Award To Winners Of The Playoff Season